
Receiving hardware for Hong Kong warehouses
Warehouse Receiving and Barcode Verification
Identify arrivals, check expected stock and quantities, control label issues and release accepted goods to the next warehouse step. Easy Scan helps match barcode scanners, mobile computers, label printers, consumables and technical support to the real receiving work points.
Overview
Create a reliable inbound record before stock moves on
Identify incoming goods, verify quantities and prepare labels before storage. This page follows the physical checkpoints, records and hand-offs that should be understood before product categories are narrowed or a deployment is planned.
The primary equipment review covers Barcode scanners, Mobile computers, Barcode printers, Labels and ribbons. Easy Scan can help match these categories to the site, workload, identification samples, connectivity, power and support route; exact configuration remains subject to application and compatibility checks.
- Operating scope:Know what has arrived before goods enter available stock
- Critical hand-off:Show the receiver the reference, source, stock and expected quantity
- Equipment bundle:Review Barcode scanners, Mobile computers, Barcode printers, Labels and ribbons by work point instead of beginning with individual models.
- Deployment evidence:Use representative users, items, locations and exceptions during the site walkthrough.
Arrival control
Know what has arrived before goods enter available stock
Receiving begins when the team can connect a physical delivery to an authorised reference and a defined unloading point. The dock, counter or receiving zone should make it clear what may be opened, counted, relabelled, held or sent back for review.
Delivery reference
Identify the purchase, transfer, return or other approved record that allows the team to receive the goods. Turn the responsibility required at this checkpoint into a clear instruction for the relevant role. The user should know the required input, permitted decision and named escalation route before this task is added to daily work.
Receiving point
Assign the door, bay, counter, cage or holding area where the arrival is first controlled. Test this checkpoint with representative items and locations, including duplicate, missing or unreadable identification where relevant. The next action should follow the required exception path and keep the original count visible.
Physical condition
Record visible packaging damage, broken identification or an unexpected handling condition before opening or moving stock. Use the item, location, unit and quantity rules required at this checkpoint to prepare the scan or entry screen. When the physical result differs from the expected record, preserve the discrepancy for review instead of forcing a match.
Separation rule
Keep unchecked goods apart from accepted stock so an arrival is not treated as available before required checks pass. Use the item, location, unit and quantity rules required at this checkpoint to prepare the scan or entry screen. When the physical result differs from the expected record, preserve the discrepancy for review instead of forcing a match.
Expected receipt
Show the receiver the reference, source, stock and expected quantity
The receiving screen or document should give the operator enough information to identify the delivery without exposing irrelevant detail. Field names and validation rules must come from the existing application and approved process.
- Inbound reference:The approved receipt, purchase, transfer, return or shipment identifier.
- Supplier or source:The organisation, site, vehicle or internal location that sent the goods.
- Expected stock and quantity:The item or package identifiers and amounts authorised for this receipt.
- Next owner or zone:The team or holding area that receives accepted stock after the dock check.
Receiving sequence
Identify and count goods at the point where the decision is made
1. Open the authorised receipt
Start from the approved reference and confirm the expected source or delivery. The completed record should show the next user what was checked, what changed and what still requires attention, so the expected hand-off is clear at the real work point.
2. Identify the load or package
Read the available shipment, pallet, carton, item or return identification required by the process. Test this checkpoint with representative items and locations, including duplicate, missing or unreadable identification where relevant. The next action should follow the required exception path and keep the original count visible.
3. Inspect the receiving condition
Stop and record packaging, identification or handling issues that require a separate decision. Test this step with representative items and records from the required workflow. Confirm what the operator can decide here and which condition must be handed to an authorised reviewer.
4. Scan and count stock
Capture the agreed identifier and record the quantity received using the permitted input method. Test this checkpoint with representative items and locations, including duplicate, missing or unreadable identification where relevant. The next action should follow the required exception path and keep the original count visible.
5. Print or replace identification
Use a controlled print point where accepted stock needs a verified internal, carton, pallet or holding label. Use the output required at this checkpoint to assess the print point, expected workload and operator handling. The printer, connection and consumables should be tested as one setup with the real label format.
6. Accept, hold or route the receipt
Release only the confirmed quantity; keep discrepancies open with a clear owner and next action. Use the item, location, unit and quantity rules required at this checkpoint to prepare the scan or entry screen. When the physical result differs from the expected record, preserve the discrepancy for review instead of forcing a match.
Receiving differences
Keep quantity and identity differences visible
A receiver should not change an expected line merely to close the task. Define permitted decisions for goods that are short, over, duplicated, damaged or absent from the authorised receipt.
- Short quantity:Record what physically arrived and leave the remaining amount under the approved follow-up process.
- Excess or duplicate quantity:Separate the unexpected amount until an authorised person decides whether it may be accepted.
- Unexpected stock:Hold goods that do not match an approved line instead of adding an unverified item to the receipt.
- Damaged or restricted stock:Route the goods to the defined inspection, quarantine, return or other approved location.
Barcode and label control
Preserve the connection between supplier and internal identification
Test actual shipment, pallet, carton and item barcodes from the receiving position. When an existing barcode is damaged, duplicated or unsuitable for the approved internal process, send it to a controlled identification and print point.
A replacement label should refer to the accepted record and stock. Do not cover or discard original identification unless the approved operating procedure requires it.

Readable as received
Use the existing verified barcode when it supports the authorised receipt process. Use the label purpose required at this checkpoint to confirm size, material, adhesive and expected life against representative surfaces. If thermal-transfer printing is involved, check the ribbon together with the printer and label rather than as a separate purchase.
Unreadable or duplicated
Hold the package and resolve the identity before creating a replacement label. Use the label purpose required at this checkpoint to confirm size, material, adhesive and expected life against representative surfaces. If thermal-transfer printing is involved, check the ribbon together with the printer and label rather than as a separate purchase.
Internal label required
Print from the accepted record at a controlled workstation and confirm the label before release. Test the intended surface and environment with the actual barcode layout. Confirm whether direct thermal or thermal transfer is required, then review the consumable as part of the complete print workflow.
Receiving product categories
Choose the product type for the dock, counter or mobile work point
Product selection follows the identification, movement, screen, printing, label and support requirements. Exact accessories, connections and media need verification against the actual site.

Barcode Scanners
For package, item and label capture at a counter, workstation or verified fixed position. Use the real item, package or location codes from this checkpoint to review scan angle, distance, operator movement and connection. Include difficult but valid samples so the selection is based on the working environment.

Mobile Computers
For staff moving between unloading, inspection, counting, holding and label work points. Use a representative shift to confirm that instructions, scanning and status entry remain practical while the employee moves between the required work points. Include the intended case, cradle or other required accessory in the review.

Barcode and Label Printers
For controlled receiving, pallet, carton, holding or internal stock labels. Match this print point to where and when the label is produced, then review print method, label size, connection, placement and media replenishment. Check a print sample on the intended surface before narrowing the printer category.

Labels and Ribbons
For identification matched to the package, surface, environment and required use period. Use the label purpose required at this checkpoint to confirm size, material, adhesive and expected life against representative surfaces. If thermal-transfer printing is involved, check the ribbon together with the printer and label rather than as a separate purchase.
Labels and ribbons
Treat labels and ribbons as part of the working hardware system
A printer or mobile-printing decision is incomplete until the label is matched to the item, package, location or document used at this work point. Size, material, adhesive, surface, barcode layout and expected life all affect whether the identification remains usable.
For thermal-transfer printing, the ribbon also needs to suit the label material and printer configuration. Bring representative packaging, current labels and print samples so the printer, label and ribbon can be reviewed as one combination.
- Purpose and size:Define what the label identifies, the available space and the information or barcode it must carry.
- Surface and adhesive:Check cardboard, plastic, metal, reusable containers and any curved, cold or difficult surface.
- Environment and working life:Record temperature, moisture, abrasion, handling and how long the print must remain readable.
- Print method and ribbon:Confirm direct thermal or thermal transfer, then match the ribbon where thermal-transfer printing is used.
Receiving work points
Match device handling to unloading and inspection work
The same receiving area can include a fixed counter, walking checks, pallet handling and vehicle movement. Review safe reach, scan distance, screen entry, carrying or mounting, power, charging, network coverage and where a label is applied.
Counter or desk
Define how packages are presented, where the screen sits and how accepted labels are printed and checked. Use the label purpose required at this checkpoint to confirm size, material, adhesive and expected life against representative surfaces. If thermal-transfer printing is involved, check the ribbon together with the printer and label rather than as a separate purchase.
Walking receiver
Review carrying, one-handed use, gloves, package handling and movement between dock and holding zones. The hand-off should provide a status that the next work area can act on. If the record and physical condition do not agree, preserve the difference for review rather than replacing the earlier status.
Pallet and vehicle work
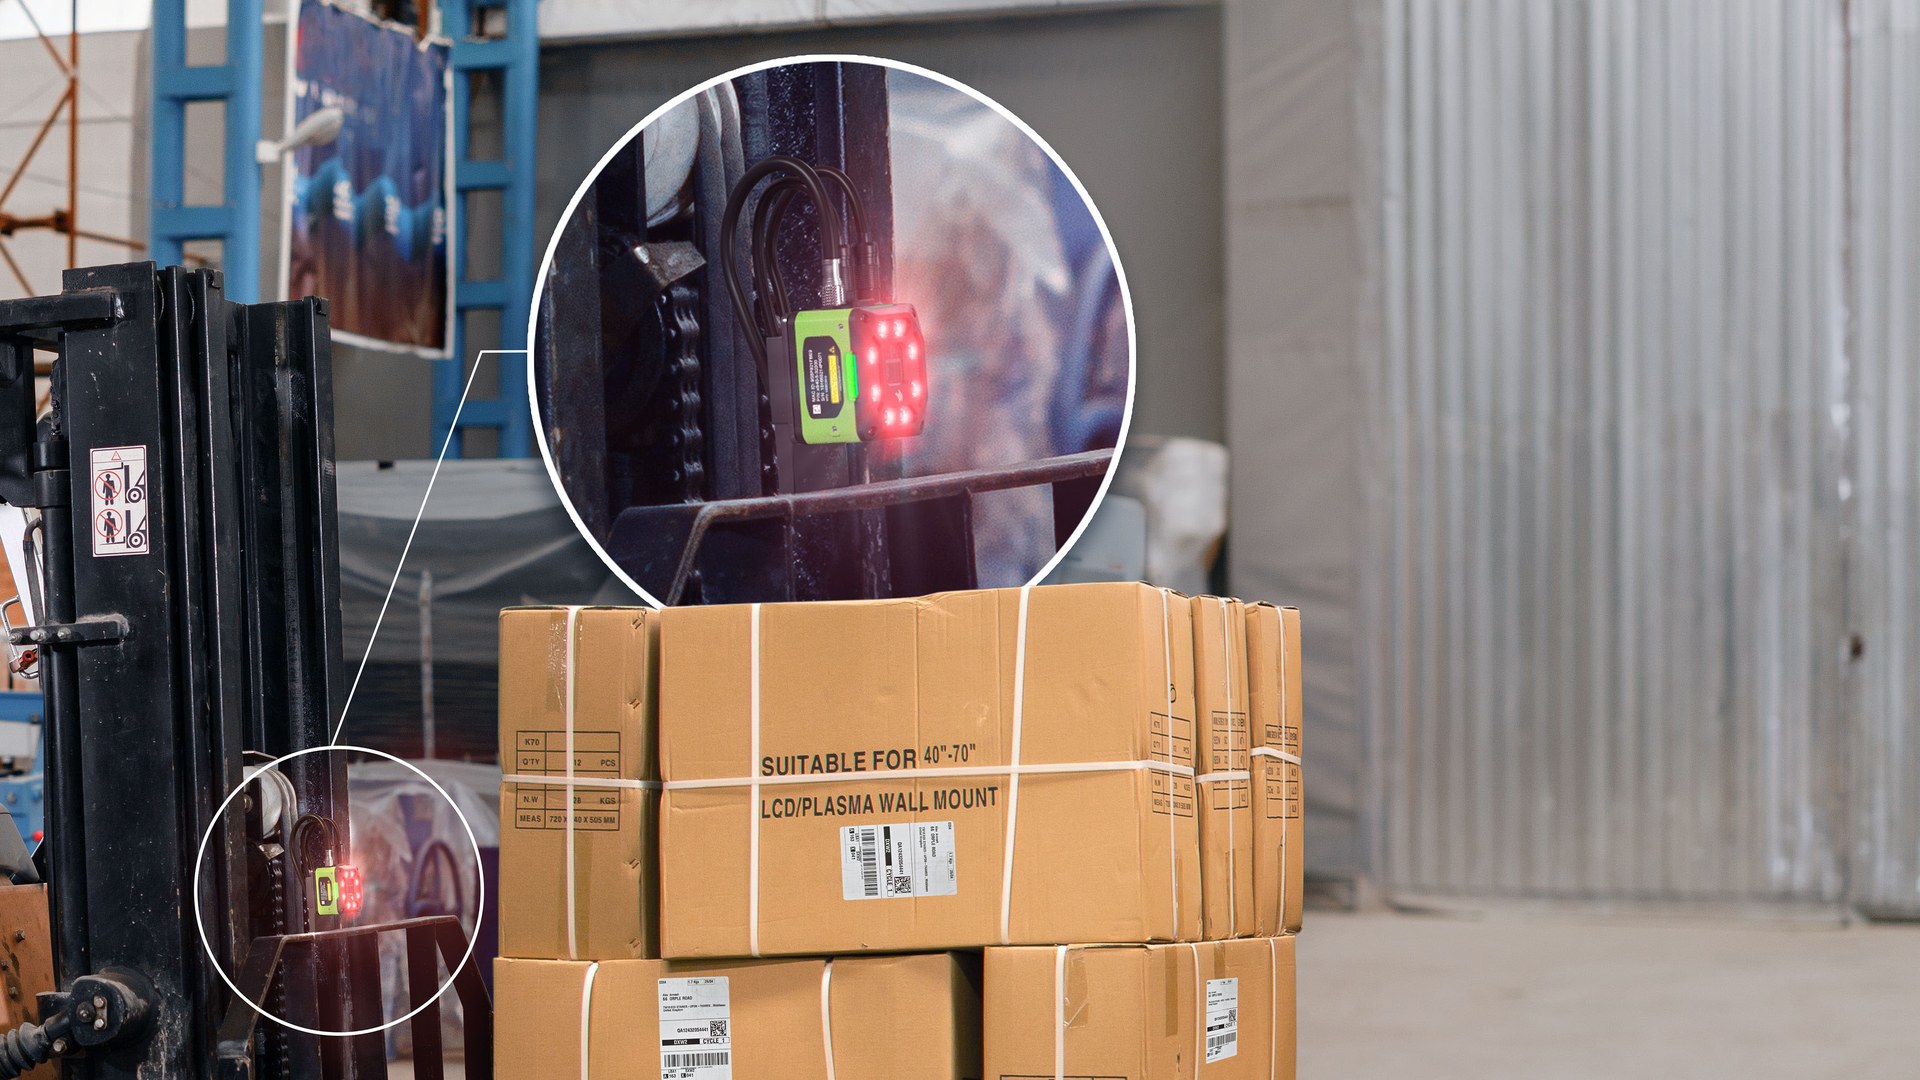
Check the real operator position, safe scanning point, mount, power and connection around each vehicle. Use a representative journey to check how the device receives the task, captures each stop and returns the completed record. Include periods with limited connectivity in the workflow review without assuming unsupported offline capability.
Fixed capture point
Verify package presentation, barcode position, trigger, host hand-off and exception handling at the actual lane. Test representative barcodes in the work position required at this checkpoint, including the normal scan distance, label presentation and host connection. This confirms whether the scanner category fits the actual item flow before individual products are compared.
Receipt status
Use statuses that reflect the physical receiving decision
The final scan should not hide a difference. The application owner must define allowed receipt statuses and the fields required for each one.
- Accepted:The authorised stock, quantity and required identification checks have passed.
- Partially accepted or held:The confirmed quantity is recorded while remaining goods or differences stay under review.
- Rejected or pending:The goods remain separated with a reason, responsible team and approved next step.
Release to storage
Pass only accepted stock to put-away
Receiving decides what has been identified and accepted; put-away decides where released stock is moved. Agree the exact hand-off record so held or rejected goods cannot be scanned into a normal storage location.
Released quantity
Pass the confirmed item, amount, receipt reference and required identification to the next task. Use the site conditions required at this checkpoint to confirm placement, cable or wireless reach, charging and safe access for support. Record constraints before selecting a product configuration or planning installation.
Holding location
Keep unresolved goods in the approved physical and recorded location until the issue is closed. Test this checkpoint with representative items and locations, including duplicate, missing or unreadable identification where relevant. The next action should follow the required exception path and keep the original count visible.
Destination ownership
State which team or application assigns the first storage or processing destination. Review this step with the employees who perform and supervise it. Confirm that the instruction, status choices and escalation wording are understood consistently across the intended shift or work area.
Traceable exception
Preserve the reason and owner when goods cannot enter the normal warehouse flow. Keep the physical item, its identification and the resulting status connected throughout the process. If one element is missing, follow the page's exception route before the workflow continues.
Connected inbound flows
Review what happens before and after receiving

Reverse Logistics
Identify returned goods and decide whether they may re-enter stock or need another route. Use representative returned goods to check how this status is recorded and handed to the next responsible area. Commercial disposition remains with the authorised business role, while hardware supports identification and evidence capture.

Put-away and Replenishment
Move released stock from receiving or reserve storage to the confirmed destination. Test this checkpoint with representative items and locations, including duplicate, missing or unreadable identification where relevant. The next action should follow the required exception path and keep the original count visible.

Cross-Docking
Route approved inbound goods to the outbound process without normal storage. The completed record should show the next user what was checked, what changed and what still requires attention, so the expected hand-off is clear at the real work point.

Materials Management
Control material identity and movement between receiving, storage and operational use. The hand-off should provide a status that the next work area can act on. If the record and physical condition do not agree, preserve the difference for review rather than replacing the earlier status.
Site review inputs
Walk the receiving route before selecting hardware
- Arrival and zone map:Doors, bays, counters, inspection points, holding cages, print stations and the hand-off to storage.
- Real stock and labels:Shipment, pallet, carton and item samples, including damaged, duplicated or difficult-to-read identification.
- Operator and vehicle handling:Loads, gloves, reach, movement, screens, carrying, mounting, power, charging and safe scan positions.
- Applications and decisions:Expected receipt fields, permitted status changes, variance ownership, network coverage and existing equipment.
Receiving FAQ
Warehouse receiving questions
What should be checked before scanning a delivery?
Confirm the authorised receipt, source, receiving point, expected stock, quantity and the rules for damage or unexpected goods.
Should all incoming goods be available immediately?
No. Only goods that pass the required identity, quantity and condition checks should move to the accepted flow. Other goods need an approved holding or exception route.
When is a mobile computer useful at receiving?
It can suit staff moving between unloading, inspection, count, holding and label points when the application, connectivity, handling and accessories are verified.
When should a receiving label be printed?
Print only from an accepted or otherwise authorised record when the approved process requires internal, pallet, carton, holding or stock identification.
Can one scanning setup cover every receiving point?
Not automatically. Counters, walking checks, vehicles and fixed lanes have different presentation, reach, screen, power, connection and exception requirements.
What should we prepare for an Easy Scan site review?
Share the current route, stock and barcode samples, devices, print points, network, application screens, receipt decisions and common differences.
Map your receiving work points with Easy Scan
Show us how goods arrive, where they are identified and counted, how labels are handled and what happens to differences. We can then discuss the relevant product categories and verification steps.