
Barcode printer selection for Hong Kong businesses
203 dpi vs 300 dpi: Which Barcode Printer Fits Your Labels?
For many general shipping, carton and inventory labels, 203 dpi is a sensible first configuration to test. Compare 300 dpi when the label is smaller, the layout is denser, or it must reproduce smaller 1D or 2D symbols, fine text or more detailed graphics. Treat 600 dpi as a specialist direction for micro labels, fine print and dense codes. The safest decision comes from testing the final artwork, specified label and ribbon with the actual scanner and working distance—not from the dpi number alone.
The layout has room and the code does not need to be compressed
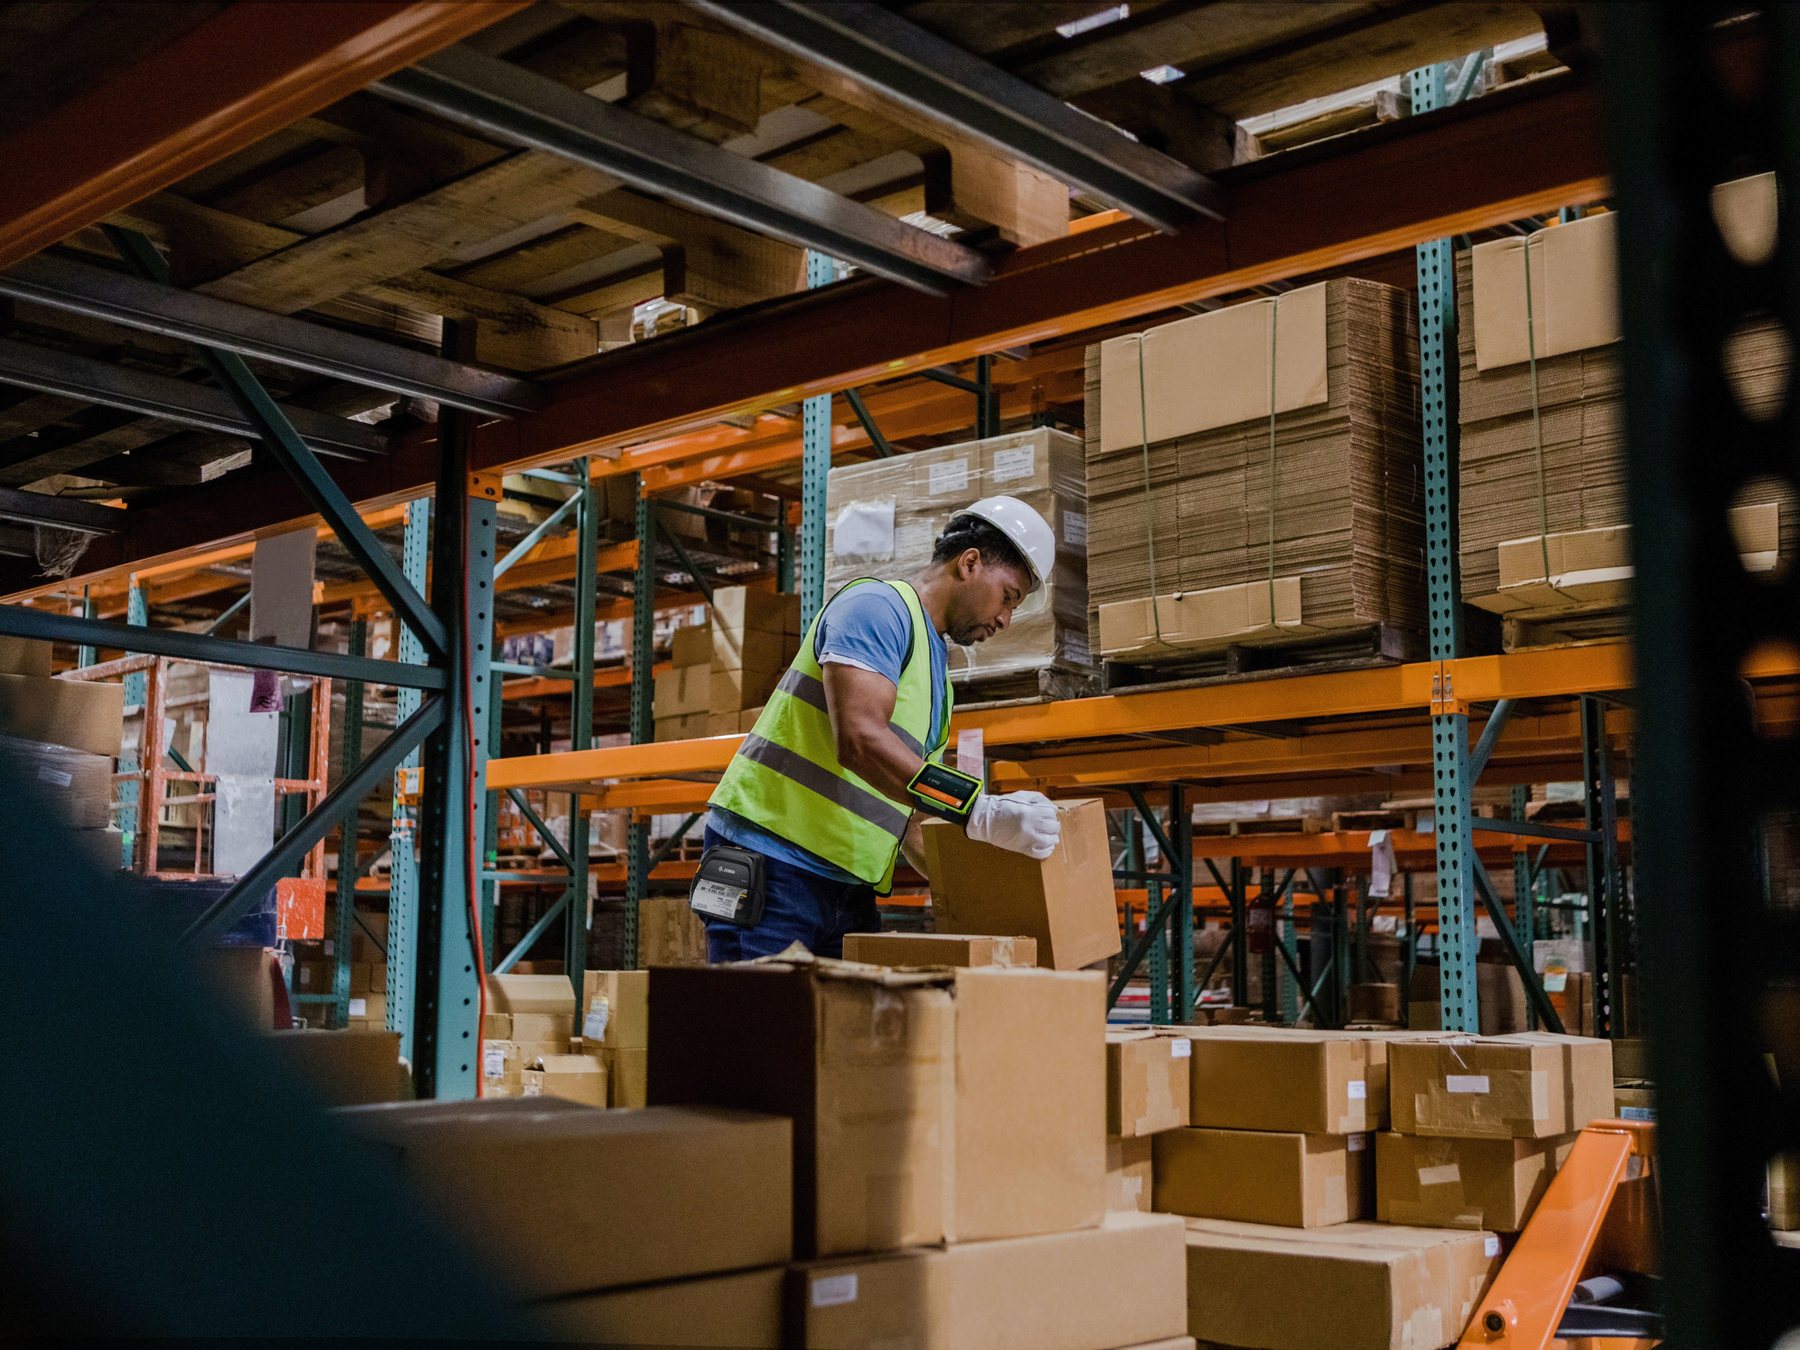
General shipping, carton, inventory and shelf labels can often begin with a 203 dpi proof. It usually offers the highest maximum speed within the same printer family, but the real barcode and scanner still need validation.
The label is smaller or the same area must carry more information
When fine English and Chinese text, serial data, batch information, logos and 2D codes share a compact area, 300 dpi gives the printer more addressable dots for the required detail.
Micro labels and very fine content justify further testing
Electronics, selected laboratory or jewellery labels may justify a 600 dpi proof, but not every small label needs it. Printer, speed and media choices also become more restricted.
30-second answer
Choose the lowest resolution that consistently passes print, legibility and scan tests
A higher dpi is not automatically a better overall printing system. Resolution must work with the label layout, barcode specification, volume, speed, media, ribbon and exact printer configuration.

Use this decision order
- Measure the finished label and usable print area.
- Identify the smallest text, narrowest barcode element and densest 2D code.
- Confirm normal and peak print volume and the required completion time.
- Define the printer, label stock, adhesive and ribbon combination.
- Print the final variable-data layout and scan it at real working distances.
One practical rule
If a 203 dpi proof keeps the text clear, preserves the required barcode geometry, scans consistently in the real workflow and meets throughput, you may not need to step up. Compare 300 or 600 dpi when content must become smaller or the lower-resolution proof cannot pass reliably.
The basic concept
What does DPI mean on a barcode printer?
DPI is the number of printable dots per inch. Common specifications map approximately to 203 dpi = 8 dots/mm, 300 dpi = 12 dots/mm and 600 dpi = 24 dots/mm. Across the same physical width, a higher resolution provides more dots for narrow bars, fine text, 2D modules and graphic detail.
Resolution is a printhead and printer configuration
A driver setting cannot turn a 203 dpi printer into a 300 dpi printer. Confirm the exact model or Part Number, installed printhead resolution and available options before ordering.
X-dimension and quiet zones still matter
Higher dpi gives the layout more addressable points, but it does not justify an undersized symbol, missing quiet zones, weak contrast or an unsuitable design.
Higher-dpi versions usually have a lower maximum speed
The exact difference depends on brand, model, print mode and supplies. High-volume teams should test labels per minute with the real label length, backfeed, peel, cut or rewind process.
Core comparison
How do 203 dpi, 300 dpi and 600 dpi differ?
Use the table for an initial procurement shortlist, not as a universal pass/fail threshold. Prove each direction with the specified printer, artwork, media, ribbon and scanner.
| Decision area | 203 dpi | 300 dpi | 600 dpi |
|---|---|---|---|
| Common dot density | About 8 dots/mm | About 12 dots/mm | About 24 dots/mm |
| First uses to test | General shipping, carton, inventory, shelf and less-constrained layouts. | Smaller product labels, denser information, smaller codes, fine bilingual text and more detailed graphics. | Micro electronics, selected laboratory or jewellery labels, very small 2D codes and fine print. |
| Main benefit | Usually offers higher print speed in the same family and is a practical general-use starting point. | A balanced direction between fine detail and throughput. | Provides the most addressable dots for extremely fine content and dense layouts. |
| Main limitation | Fewer dots are available across narrow bars, small 2D modules, fine text and diagonal detail. | Cannot fix incorrect barcode size, poor media, excessive darkness or a flawed layout. | Fewer printer and accessory choices; maximum speed and print length may fall materially. |
| Buying position | First proof candidate for many general labels. | Common step-up comparison when 203 dpi cannot retain the required detail reliably. | Select only when the micro-content requirement and tests justify it. |
Scenario guidance
Which DPI should different label workflows test first?
Do not decide by industry name alone. Combine these directions with final artwork, data volume, scan distance, media and throughput.

Shipping, carton and inventory labels
Begin with a 203 dpi proof
When the label has enough room, the code does not need to become very small, text remains clear and volume is high, 203 dpi is a sensible starting point. Compare 300 dpi when addresses become dense or one label must support several functions.
Retail, product and small hang tags
Compare 300 dpi when the label or content is smaller
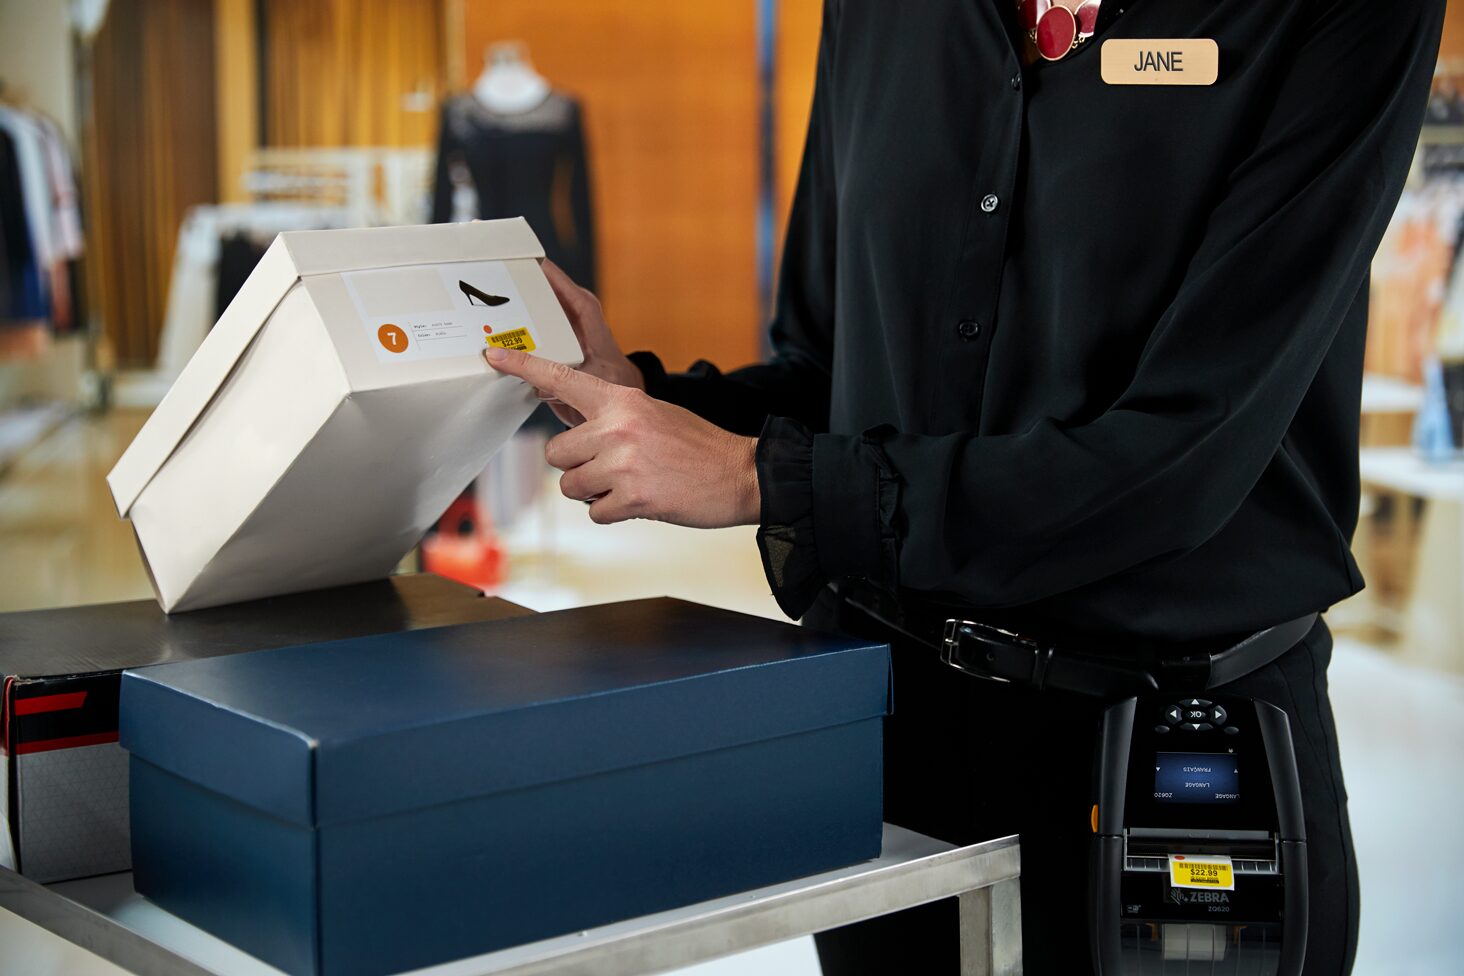
A small product label may carry item code, price, size, serial data, bilingual text and a barcode. A 300 dpi direction is often worth comparing, but quiet zones must remain clear and the final package should be tested with the production POS scanner.
Electronics, laboratory and micro labels
Compare 300 dpi, then test 600 dpi when necessary
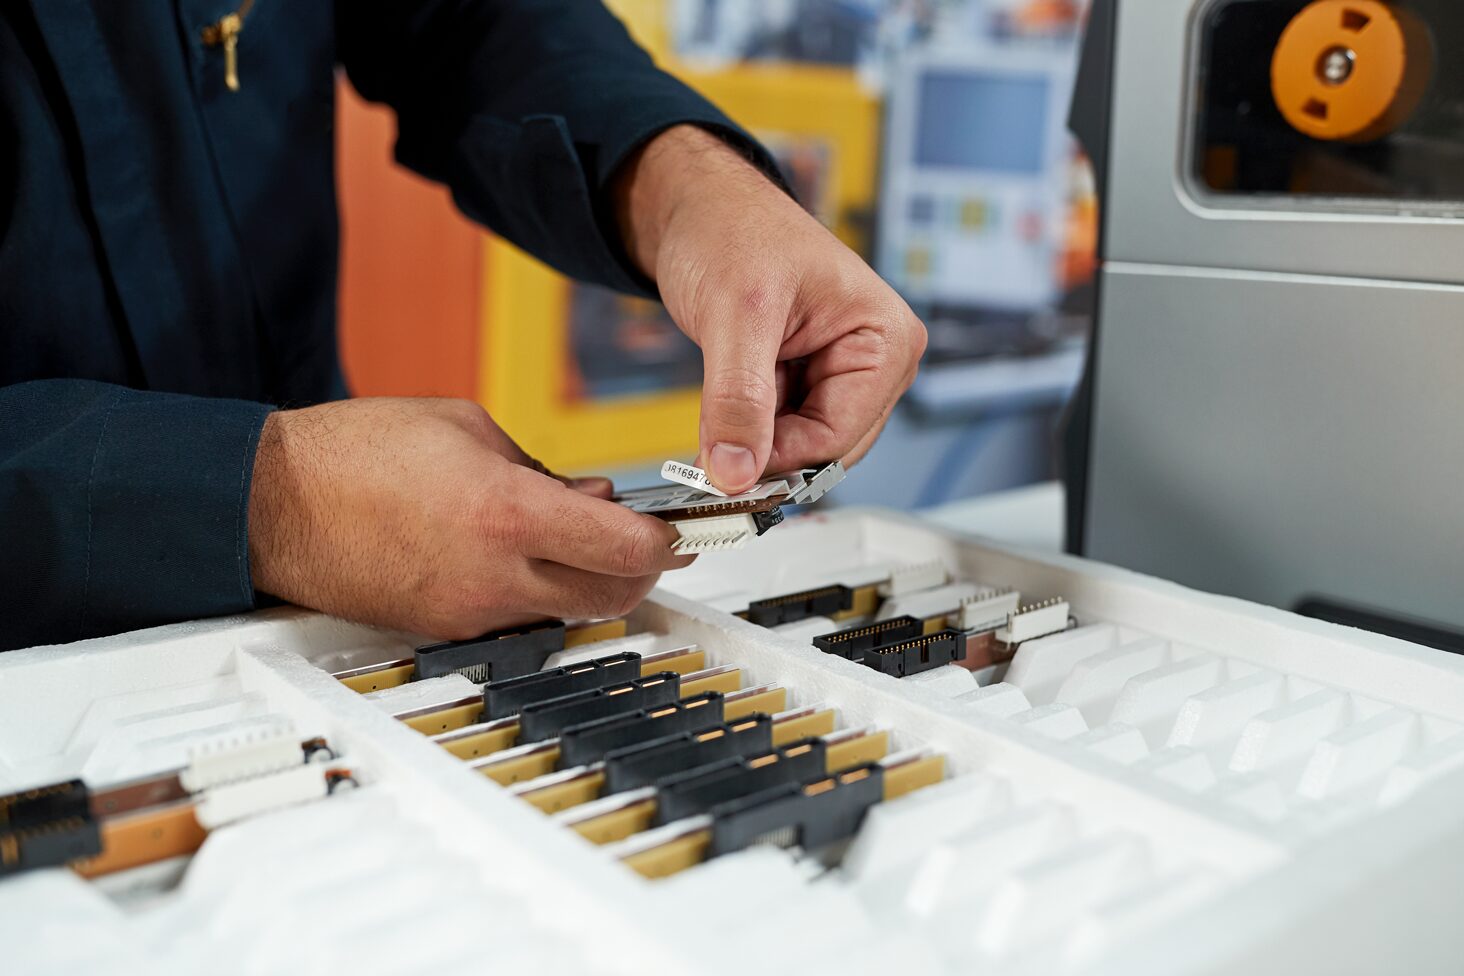
Where the printable area is tightly constrained and must hold fine serial data, dense 2D codes or detailed graphics, include 600 dpi in the proof set. Confirm the printer model, throughput, media, ribbon and real scan conditions at the same time.
A small label does not automatically require 600 dpi
If the data payload is modest, the barcode can remain comfortably sized and text does not need to be extremely fine, 300 or even 203 dpi may still pass. Conversely, a physically larger label can justify higher resolution when the layout is crowded with data or a dense 2D code.
Print quality
Check these causes before upgrading DPI
Barcode clarity is the combined result of the printer, layout, supplies, settings and maintenance. A higher dpi number does not automatically remove the following problems.
Label and ribbon mismatch
Paper, synthetic stock, coating, wax, wax-resin and resin must suit the durability requirement. The wrong pair can smear, rub off, create voids or demand excessive energy.
Excessive speed or darkness
Too much energy can spread barcode bars and narrow the spaces between them. Some media also needs a slower speed for stable transfer and edge definition.
Printhead, platen or pressure problems
Dirt, failed printhead elements, platen wear, ribbon wrinkles and uneven pressure can create broken lines, white voids or registration shifts.
Reusing a template built for another resolution
Dot-based coordinates, fonts, images and barcodes cannot be assumed to transfer directly among 203, 300 and 600 dpi. Confirm the physical size after conversion.
Compressing the barcode below a practical size
If the payload is too large, review the data, enlarge the label or redesign the layout before sacrificing X-dimension, quiet zones or legibility.
Reviewing only an on-screen preview
Font substitution, raster graphics, drivers, printer language and variable data can all change the physical output. Decide from a real production proof.
Avoid the wrong configuration
Common mistakes when buying barcode printer resolution
Assuming more dpi is always better
Higher dpi brings trade-offs in throughput, printer choice, print length, and purchase and operating cost. Add resolution only for a proven layout requirement.
Providing label dimensions without the artwork
The same label can carry one large barcode or a dense bilingual layout with serial data, graphics and a 2D code. Their resolution needs are entirely different.
Not checking the exact printer configuration
Every width or option in a printer family may not support 600 dpi, and a later resolution conversion may need more than a simple printhead swap.
Testing with short sample data
A short serial number can look excellent while the production payload makes the barcode or text much denser. Use the longest realistic variable data in the proof.
Sample testing
How should you compare 203, 300 and 600 dpi before ordering?
Turn the comparison into a repeatable test rather than judging the single sample that looks darkest or sharpest.
- Freeze the final layout: Include the longest variable data, smallest bilingual text, densest barcode and complete quiet zones.
- Use production supplies: Specify label stock, adhesive, ribbon, winding direction and exact printer configuration.
- Record settings: Keep dpi, speed, darkness, pressure, driver or printer language and template revision.
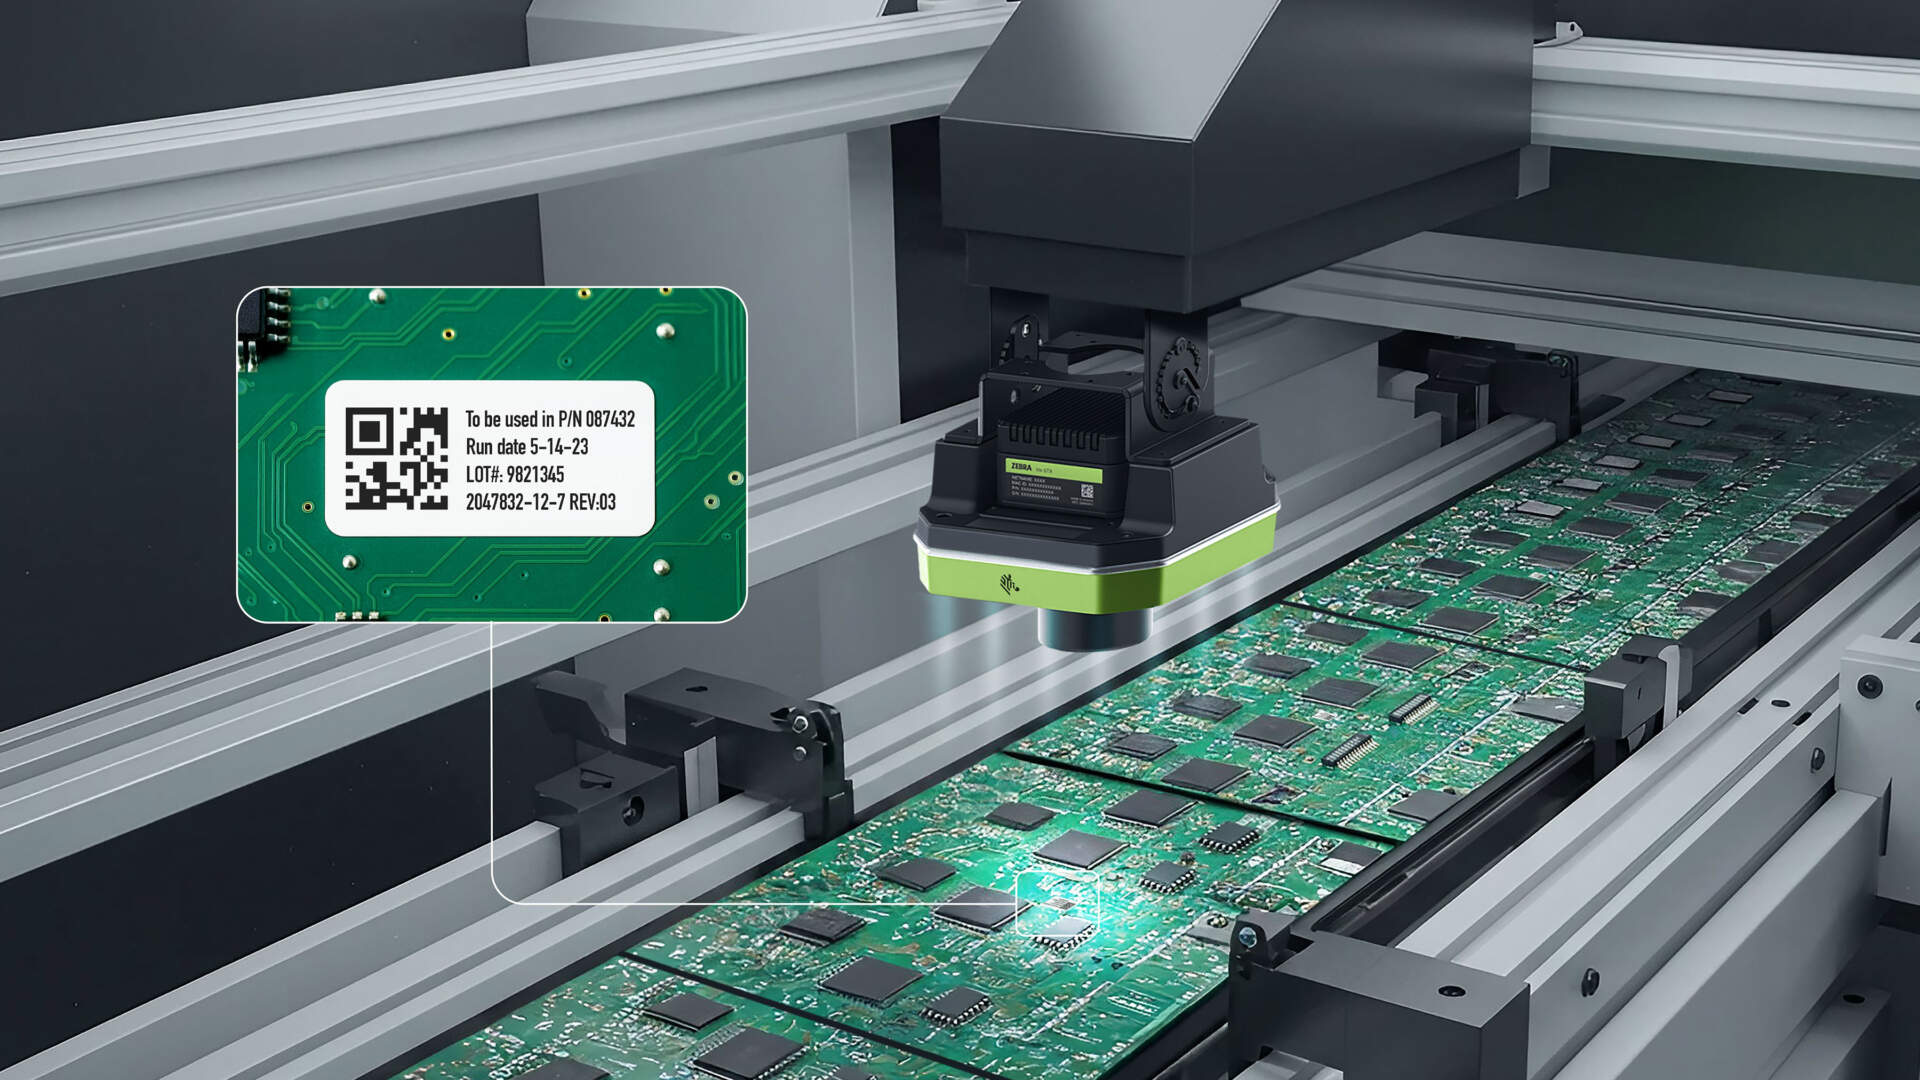
- Inspect the print: Look for missing dots, bar growth, voids, registration shifts, closed fine text, ribbon wrinkles and lost graphic detail.
- Scan on the real surface: Apply the label to the carton, bottle, vial, component or hang tag and test working distance, angle, lighting and motion.
- Run a representative batch: Check throughput, continuous printing, variable data, backfeed, cutter or peel behaviour.
What should be kept with an approved sample?
Retain the physical golden sample, artwork revision, printer model and Part Number, dpi, label and ribbon references, speed, darkness, scanner model and test result. This makes replenishment, printer replacement and later troubleshooting more controlled.
Before you enquire
Prepare this checklist before asking whether to choose 203 or 300 dpi
Complete information makes it easier to decide whether a higher resolution is genuinely needed and reduces the gap between a catalogue estimate and the real workflow.
| Information to provide | Why it matters |
|---|---|
| Finished label size, printable area, gap or black mark, core and output direction | Confirms print width, sensing, usable artwork area and media fit. |
| Final artwork, longest variable data, smallest text and barcode specification | Defines the real detail requirement instead of relying on blank label dimensions. |
| Current printer, scanner and POS, ERP, WMS, laboratory or label software | Clarifies system output, fonts, driver, printer language and scan conditions. |
| Daily and peak volume, batch size and peel, cutter or rewind requirement | Resolution affects available printer models and speed, so throughput must be considered with detail. |
| Label stock, application surface, retention, moisture, abrasion, cleaning and temperature | Print quality and durability depend on media, adhesive and ribbon as well as dpi. |
| Failed samples and expected scan distance, angle and lighting | Helps separate resolution problems from layout, supplies, settings or scan-environment issues. |
FAQ
Common questions about 203, 300 and 600 dpi
Is 203 dpi enough for a general shipping label?
Many general shipping, carton and inventory labels can begin with a 203 dpi test, provided the text and barcode have comfortable physical dimensions and remain readable on the real carton or wrap at the production scan distance. Do not approve it from the label category name alone.
Is 300 dpi always clearer than 203 dpi?
Across the same physical width, 300 dpi provides more addressable dots for fine text, narrow lines and dense 2D modules. However, unsuitable media or ribbon, excessive darkness, flawed barcode geometry or a dirty printhead can still produce poor output.
Does a small label always need 600 dpi?
No. The decision depends on the smallest required content, barcode payload, X-dimension, quiet zones, font and scan conditions. Begin by comparing a 300 dpi proof; test 600 dpi when the layout is genuinely microscopic and the lower resolution cannot pass reliably.
Does 600 dpi print more slowly?
A 600 dpi configuration normally has a lower maximum speed within the same printer family, but the difference depends on model, label length, print mode and supplies. High-volume teams should compare labels per minute in a representative batch.
Can a 203 dpi printer be converted to 300 dpi?
It depends on the exact model and manufacturer support. Resolution is a hardware configuration, and some conversions require a printhead, platen or other matched parts. Do not assume a driver change or simple printhead swap is sufficient.
What should I provide when asking Easy Scan for guidance?
Share the label size, final artwork, barcode type and longest data, current printer and scanner, daily volume, label and ribbon, application surface, environment and any failed scan samples. These details help compare 203, 300 and 600 dpi directions.
Decide with a production sample
Need to compare a 203, 300 or 600 dpi barcode printer?
Send Easy Scan your label dimensions, final artwork, barcode, print volume, labels and ribbons, and current system information. We can help narrow the resolution and printer direction around your Hong Kong business workflow.